

Without a doubt, the kitchen is one of the most used rooms in the house. Among all kitchen tools, the faucet is the most easily damaged due to frequent use. According to the US Environmental Protection Agency, the average household uses about 82 gallons of water per day. The kitchen uses a lot of this water, so you have to use the faucet several times a day. That being said, there are many reasons why you might want to replace your kitchen faucet. Some popular methods include when you need to make a major upgrade or save water from a leaky faucet.
You will be surprised to know that a leaky faucet can cost you up to 3 gallons of water a day; significant ones can be tenfold, via Central Air Heating, Cooling & Plumbing. significant ones can be tenfold, via Central Air Heating, Cooling & Plumbing. Significant can be tenfold, through central air heating, cooling and plumbing. With central air heating, cooling and ducting, this value can be increased tenfold. Replacing a kitchen faucet is a popular DIY project that any homeowner can get involved in. However, it is not as easy as it sounds, you are bound to run into some roadblocks due to several under sink factors and different faucet configurations. Whether you have plumbing experience or not, here are a few steps to help you replace your faucet like a pro.
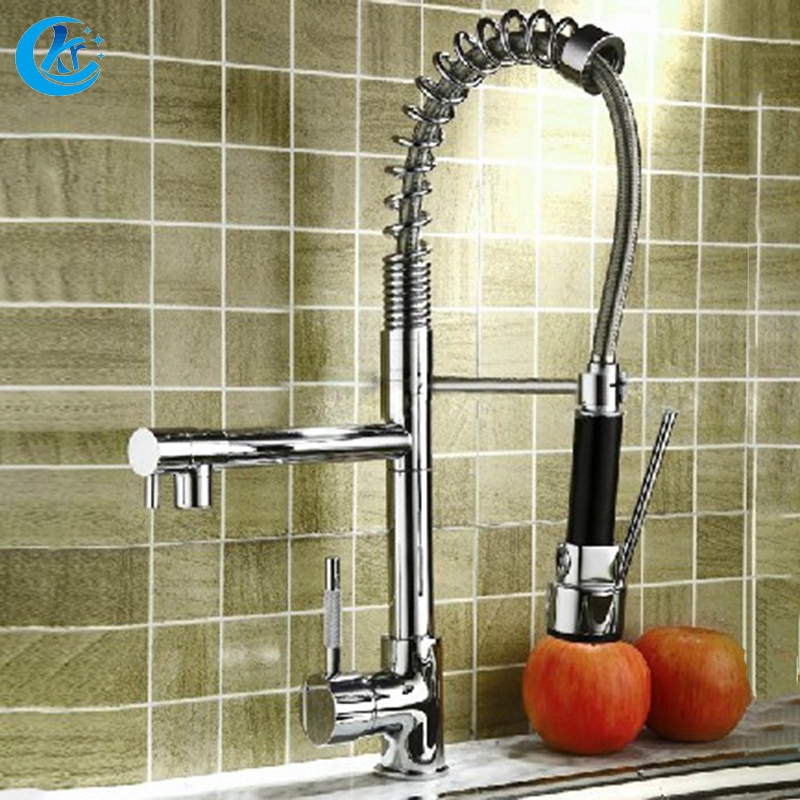
There are many different finishes and faucet designs to choose from, however not all of them are suitable for your kitchen. The equipment in your kitchen will determine which faucet you buy. First, determine the number of holes in your kitchen sink; for example, a typical two-piece kitchen faucet would require three or four holes to install. Therefore, unless you want to replace the entire pipe or drill a new hole, you should only select a faucet that matches your current configuration and hole location.
It is easier to choose an alternative with fewer holes than it is to switch to an alternative with more holes. If your sink has more holes than you need, consider adding another sink feature with TruBuild Construction, such as a soap or lotion dispenser. But how do you know how many mounting holes your faucet has? It’s not rocket science, you don’t need a plumber. Bend over and look under the sink, you won’t miss them and their connection.
If you can’t decide between a single or double faucet, know that there is no right or wrong choice, it all depends on your preference. However, while single and double handle faucets can get the job done, they each have their own benefits. If you need functionality above any other, a single lever faucet may be ideal. It takes one hand to do the job, while the other frees up time for eating or other kitchen tasks. On the other hand, a double handle kitchen faucet gives you more than just functionality. Watermark Designs mentions that this faucet allows you to control the temperature of the water.
Two knobs for hot and cold water allow you to fine-tune the water temperature to your liking. However, as mentioned earlier, the path of least resistance when changing faucets is to choose one that matches your current configuration. However, switching to a two-handle faucet isn’t entirely impossible; you will need to call in a professional to do the upgrade, which can be an expensive install. Now that you have a replacement, let’s see how you handle the installation.
Once you find a suitable replacement for your existing faucet, the next step is to attach it to your sink. However, before you begin, you must first turn off the water valve to prevent water loss and losses in the process. Closing the water valve is easy. You simply turn the lever to the right to shut off the hot and cold water supply from the faucet. However, if you live in an older house, the valve can get stuck due to the buildup of minerals and rust over the years. Before unscrewing the stuck valve, turn off the tap water supply.
After that, Innovative Plumbing Pros LLC recommends some tips for clearing stuck plumbing fixtures. First, you can try to fully tighten the valve to cause some movement and possibly destroy the mine. If the valve still won’t move, consider heating it with a hair dryer to loosen it and close it. You have to be careful not to break the valve in the process, however, since running water is already off, you don’t have to worry about flooding your kitchen and cabinets.
If you’ve ever worked on a DIY project at home, you’ll definitely appreciate the effort it took to prepare your workspace. First, you need to know that working in a cramped space under the sink is very inconvenient. To make this little place more relaxing, you need to find small pieces of plywood that fit under the sink. You can also place the end inside the sink on a small container of paint to create a slanted corner. This is more convenient and also reduces the distance needed to raise your hand under the sink.
Removing an old faucet is relatively easy; all you have to do is take out the screws and bolts before pulling the mixer from above. However, if you’re dealing with a stuck nut or bolt, you can use the same tips that Innovative Plumbing Professional LLC recommends for dealing with stuck plumbing. Alternatively, you can use an oil based lubricant and try loosening the nut after a few minutes, as Mr. Kitchen Faucet. Keep in mind that there may be some water left in the plumbing, so it’s best to have a bucket and a mat handy just in case.
If the replacement involves installing a faucet with the same hole pattern as the previous one, installation should be easy. However, if you are installing a single lever faucet in a three-hole configuration, you will first need to install a deck plate, more commonly known as a trim plate. This dashboard is necessary for aesthetic purposes, hiding the ugly unused holes of the previous two-lever eco-sanitary faucet. On the other hand, if you upgrade to a twin-handle faucet, you will need to drill additional holes to make room for new plumbing that wasn’t there before.
It is recommended to call a professional to perform such updates safely. After that, you will need to tighten the bolts and nuts into place for an even fit and to prevent leaks. Finally, connect the hot and cold water lines carefully, being careful not to mix up the two water lines in the process. The last step is to check for leaks and fix them immediately. You don’t want to deal with leaks, which can also cause low pressure in future faucets.
Post time: Aug-25-2022